Learning how to install a power supply is essential, whether you’re building a gaming PC for the very first time or replacing existing parts. Don’t let the wiring get you down, though, as it can be a pain-free process. All you’ll need is a screwdriver, easy access to your PC case, and maybe a little patience.
Figuring out how to install a PSU isn’t that exciting, and power is often an afterthought. Yet, the best power supply will help bring your expensive gaming PC to life and keep it running for years to come. Nvidia, AMD, and Intel all try to make their components as efficient as possible, but the best graphics card and best gaming CPU still need a healthy chonk of power to run properly.
If you don’t provide enough juice for your PC to function, that’s when you’ll experience crashes, BSODs, and dreaded short-circuiting that risks your expensive parts – or worse. But don’t fret. Just follow our guide on how to install a PSU and you’ll be booted up in no time.
2. How efficient do you want to be?
The stickers you see on a PSU that claim it to be 80 Plus aren’t just for show. This means it converts the power from your wall socket into power for your PC more efficiently. Less wasted energy means less heat generated as a result.
| Power Supply Load | 20% | 50% | 100% |
| 80 Plus | 70% | 70% | 70% |
| 80 Plus Bronze | 80% | 80% | 80% |
| 80 Plus Silver | 82% | 85% | 82% |
| 80 Plus Gold | 85% | 88% | 85% |
| 80 Plus Platinum | 90% | 92% | 89% |
| 80 Plus Titanium | 90% | 92% | 94% |
More recently, these categories have been expanded to include 80 Plus Bronze, Silver, Gold, Platinum, and Titanium ratings from least to most efficient. You won’t see Platinum or Titanium PSUs too often, as these are generally higher-wattage power supply units that come at a premium price. Bronze, Silver, and Gold are a dime a dozen, however, making it difficult to recommend anything lower.
While not a direct measurement, these ratings are also a testament to a PSU’s reliability. Companies sometimes justify the bump in price with added quality assurance, meaning you’ll likely be able to squeeze more out of a premium model.
3. What is a modular power supply?
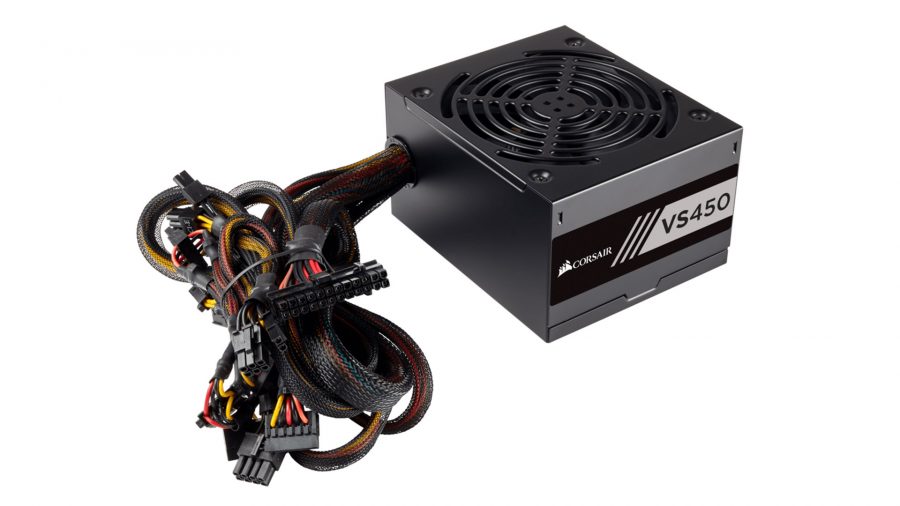
Standard PSUs come with all wires pre-built into the device. The problem here is that you rarely need to use all of them unless you’ve packed your system with multiple GPUs and a wealth of additions, condemning many of the wires to hang as an eyesore or live a life squished behind your motherboard.
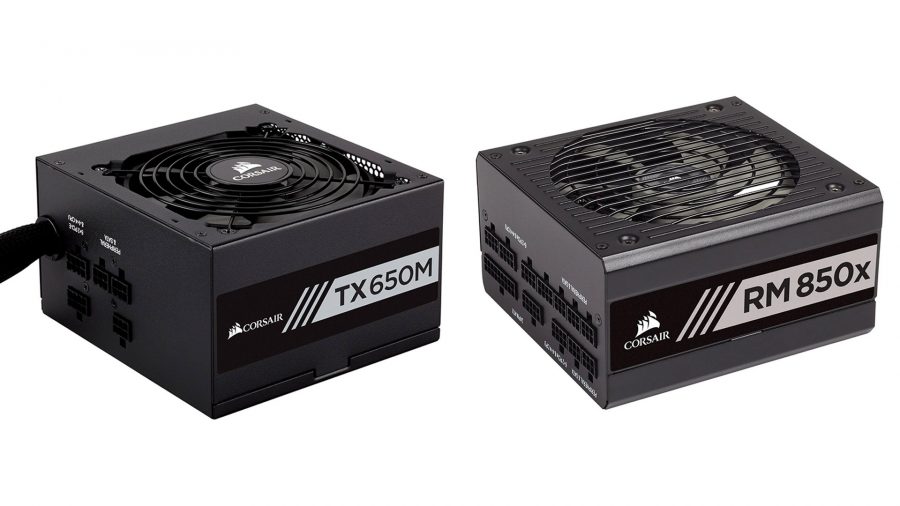
Modular power supply units are more expensive, but allow you to choose which wires are in use and leave your system’s cable management looking like it belongs on a shop floor. You can even buy more cables from the manufacturer if you find yourself missing one for an especially hungry graphics card, for example. If this is too expensive, then you’re in luck, as there’s a middle ground.
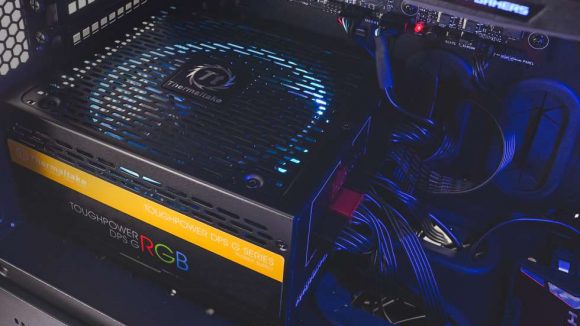
Semi-modular PSUs, pictured above, bridge the gap between modular and standard models, with essential cables hardwired in and others left as optional. These are usually a little kinder to your bank account, too.
4. Check if you need a GPU power adapter
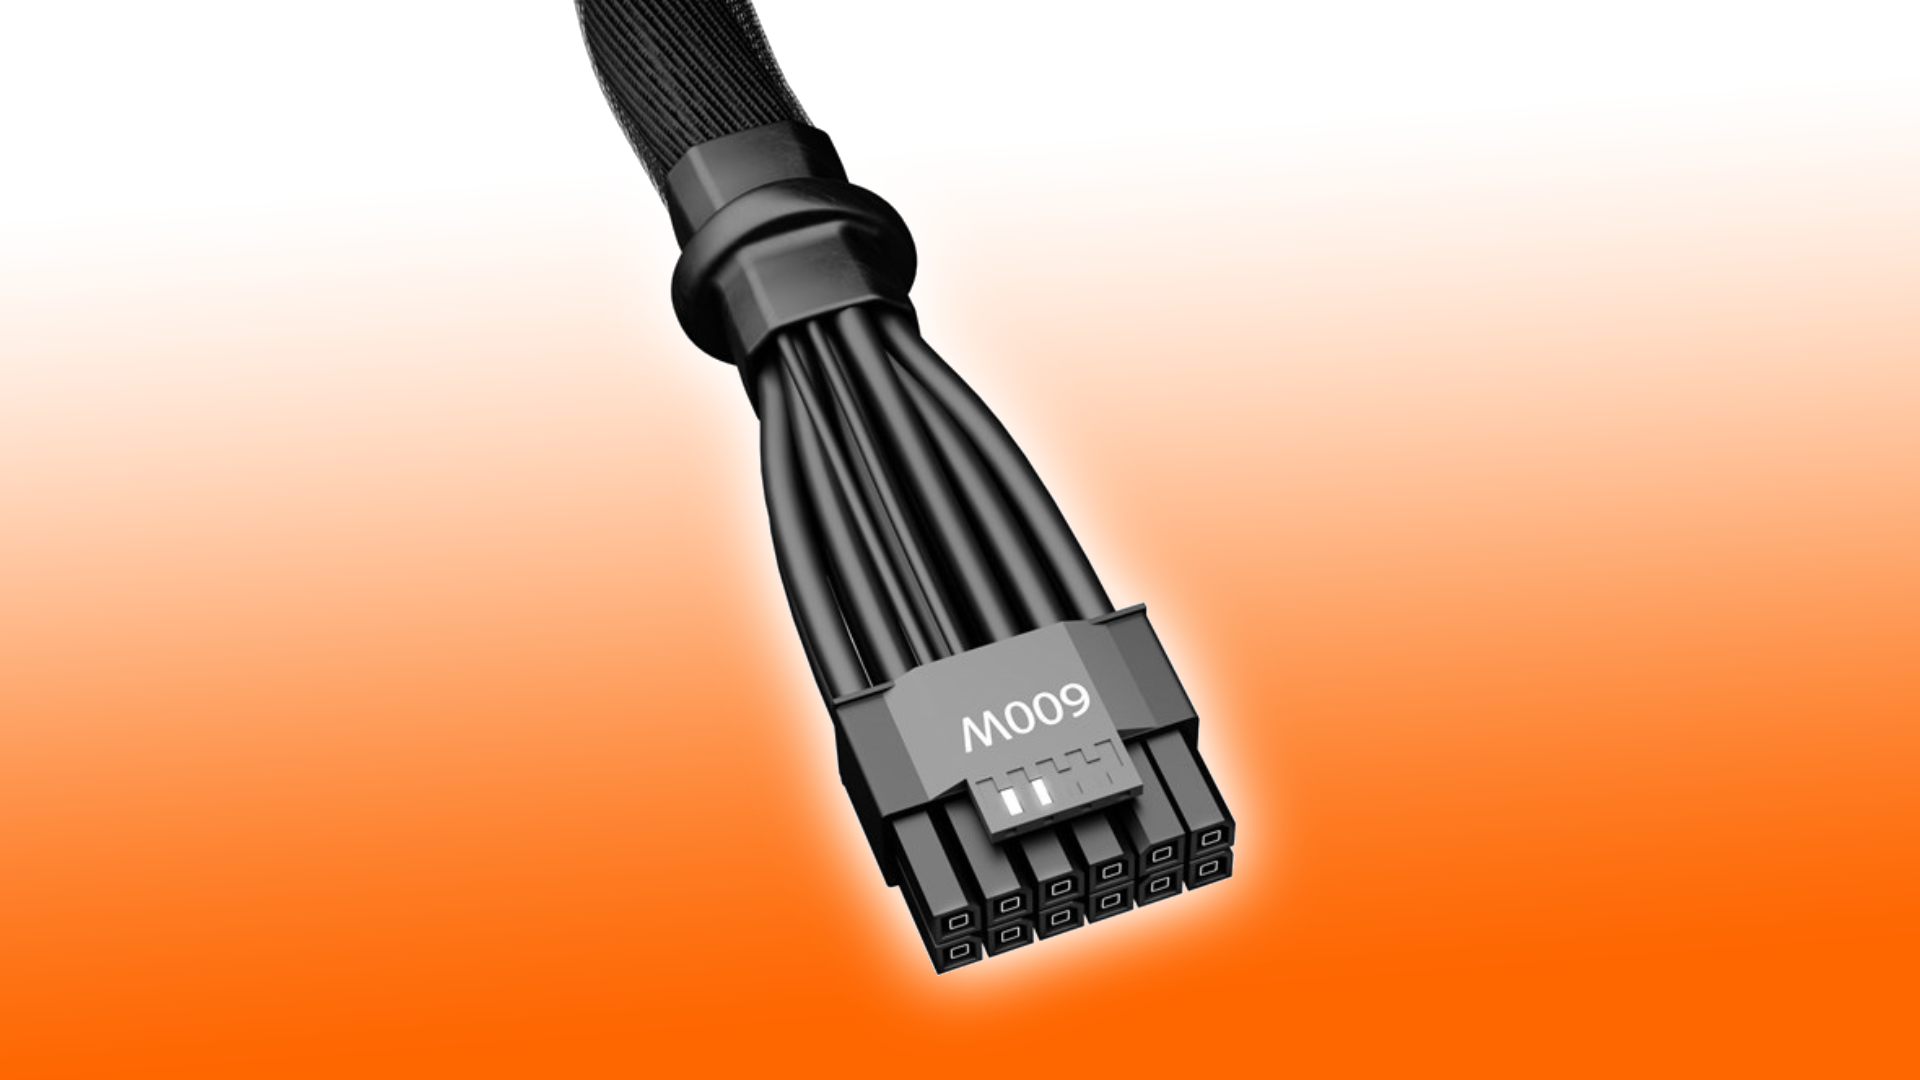
Gaming PC standards are ever-changing, and power supplies aren’t immune to the winds of time. Sure, some connectors are here to stay for the long haul, but next-gen graphics cards like the one featured in our Nvidia RTX 4090 review use PCIe 5 cables that can deliver 600W.
Thankfully, RTX 4000 GPUs should come with an adapter, but using it may clutter the inside of your case with extra cables. In addition, it’s worth noting that Nvidia’s 12VHPWR is apparently suffering from issues, and some are reportedly catastrophically overheating.
To avoid spaghetti piles of cables and melty adapters, you’ll have to invest in a shiny new PCIe 5 PSU, but it’ll cost you. In fact, some models are going for upwards of $250 USD, so you might want to wait for a price drop being barking up that particular build tree.
5. Find the right fit
The last thing to be mindful of when selecting the right PSU for you is its size compared to your case. Standard ATX power supplies are 100mm wide, but all vary in length. These won’t necessarily fit a Mini ITX or Micro ATX build that requires an 80mm wide fit, otherwise known as a Small Form Factor (SFX) PSU.
At the other end of the scale, there are some bigger PSUs to be on the lookout for that would pose a challenge even in some full towers.
6. Mounting the power supply unit into the case
After all that deliberation, you should now have a PSU that’s perfect for your needs and can seamlessly fit into your chassis.
If you are trying to upgrade or replace your power supply, you’ll first need to unhook all PSU wires from the motherboard and unscrew the old box from the case. You can leave your motherboard connected to the case and fans to save time, but if you find yourself lacking space to move around, you might want to unplug them and any other intrusive components to avoid unnecessary damage.
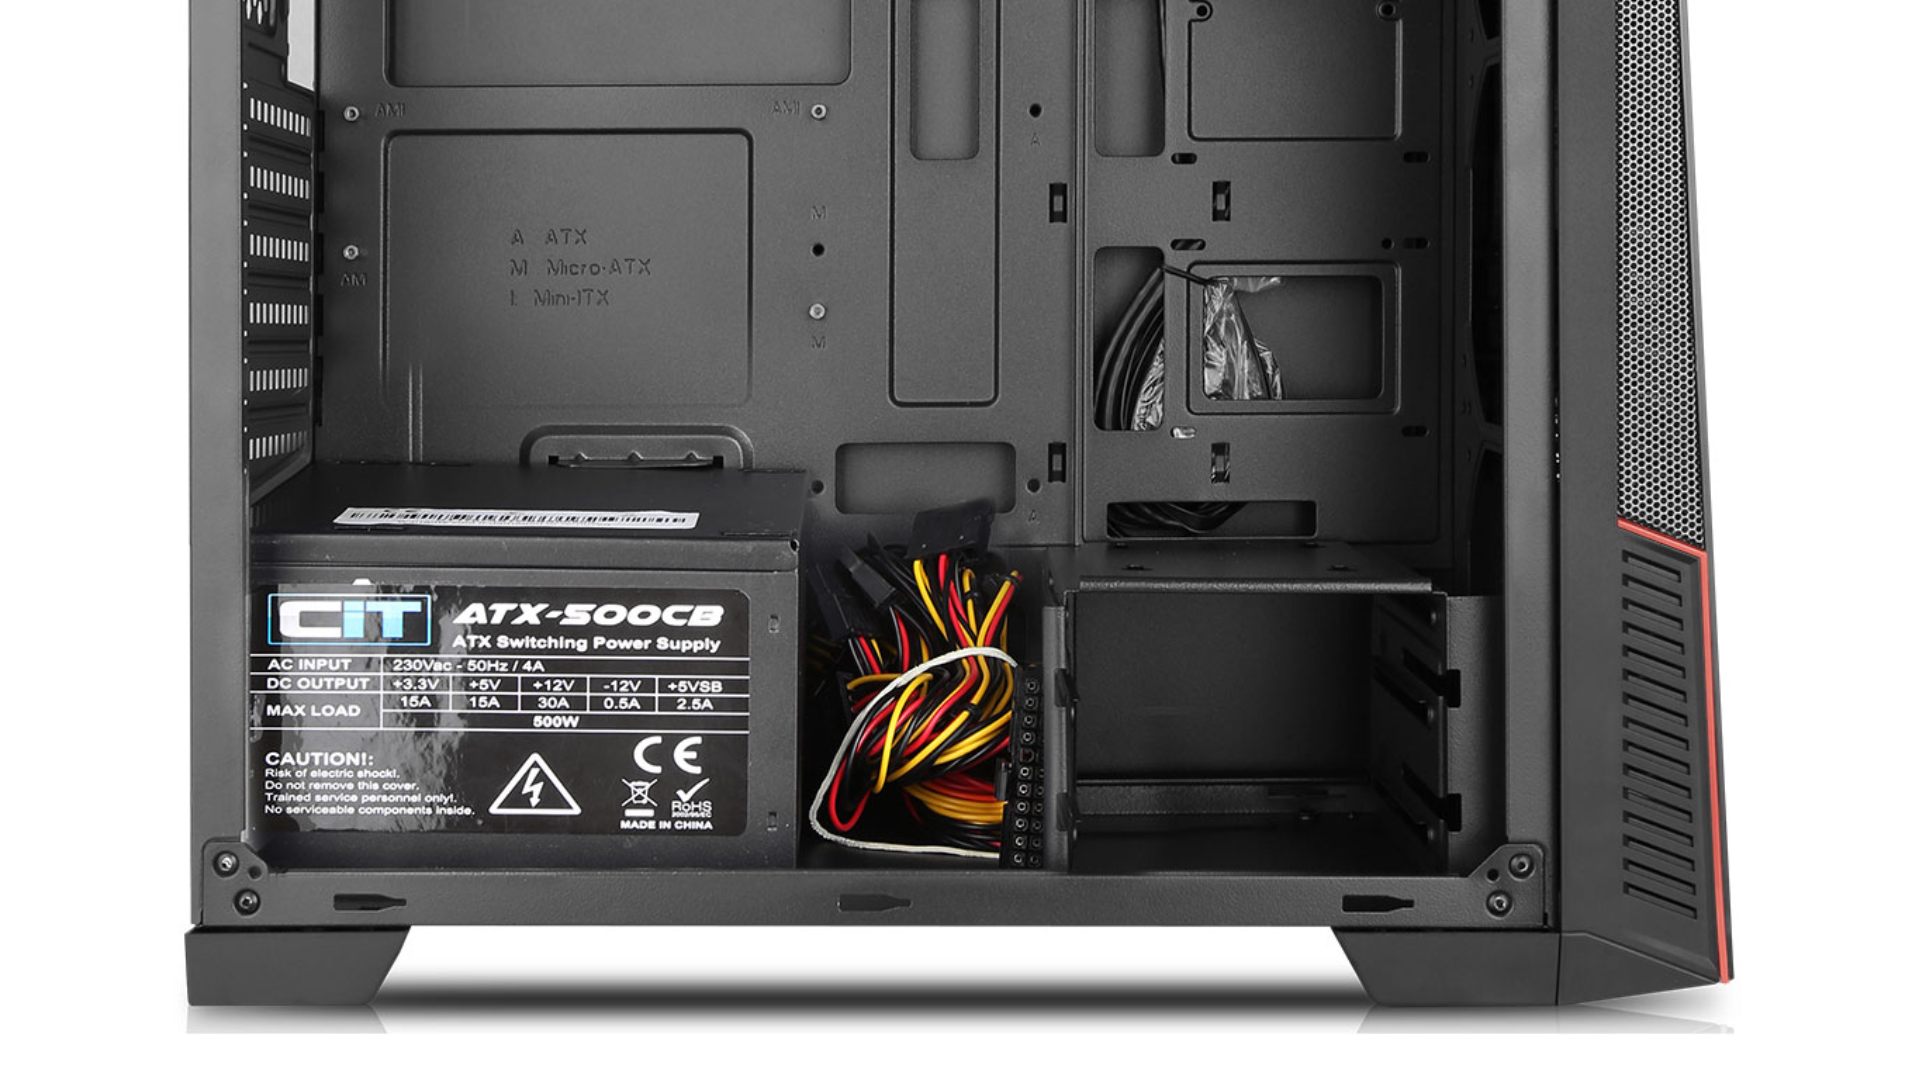
Depending on the type of power supply you’ve chosen, it’s preferable to plug in the cables you need before installing the PSU, as this can become difficult to reach later on. Slot the PSU into the case once everything is prepared, securing it with screws.
Onto cable management, it’s best to feed the wires through the back of the chassis, behind the motherboard. Case designs vary but often come with their own solutions that’ll help you manage cables and pull each one through to the corresponding plug.
Don’t forget to connect your CPU, GPU, Storage, and motherboard, as well as any other additions you might have. You can always consult your motherboard’s instruction manual if you find yourself stuck on what to plug where, but most motherboards now have a standardised layout if that document is long gone. And don’t worry, your PC won’t blow up as a result of a little miswiring, so don’t hold back.
If fitting the power supply was just the first step in building your PC, then you’re also going to need to know how to install a graphics card, perform a CPU upgrade, install an SSD, and maybe even optimise your system, giving you an fps boost. Don’t worry, we’ve got you covered on all fronts.
